
Installation Method of Non-contact Electromagnetic Ultrasonic Thickness Probe
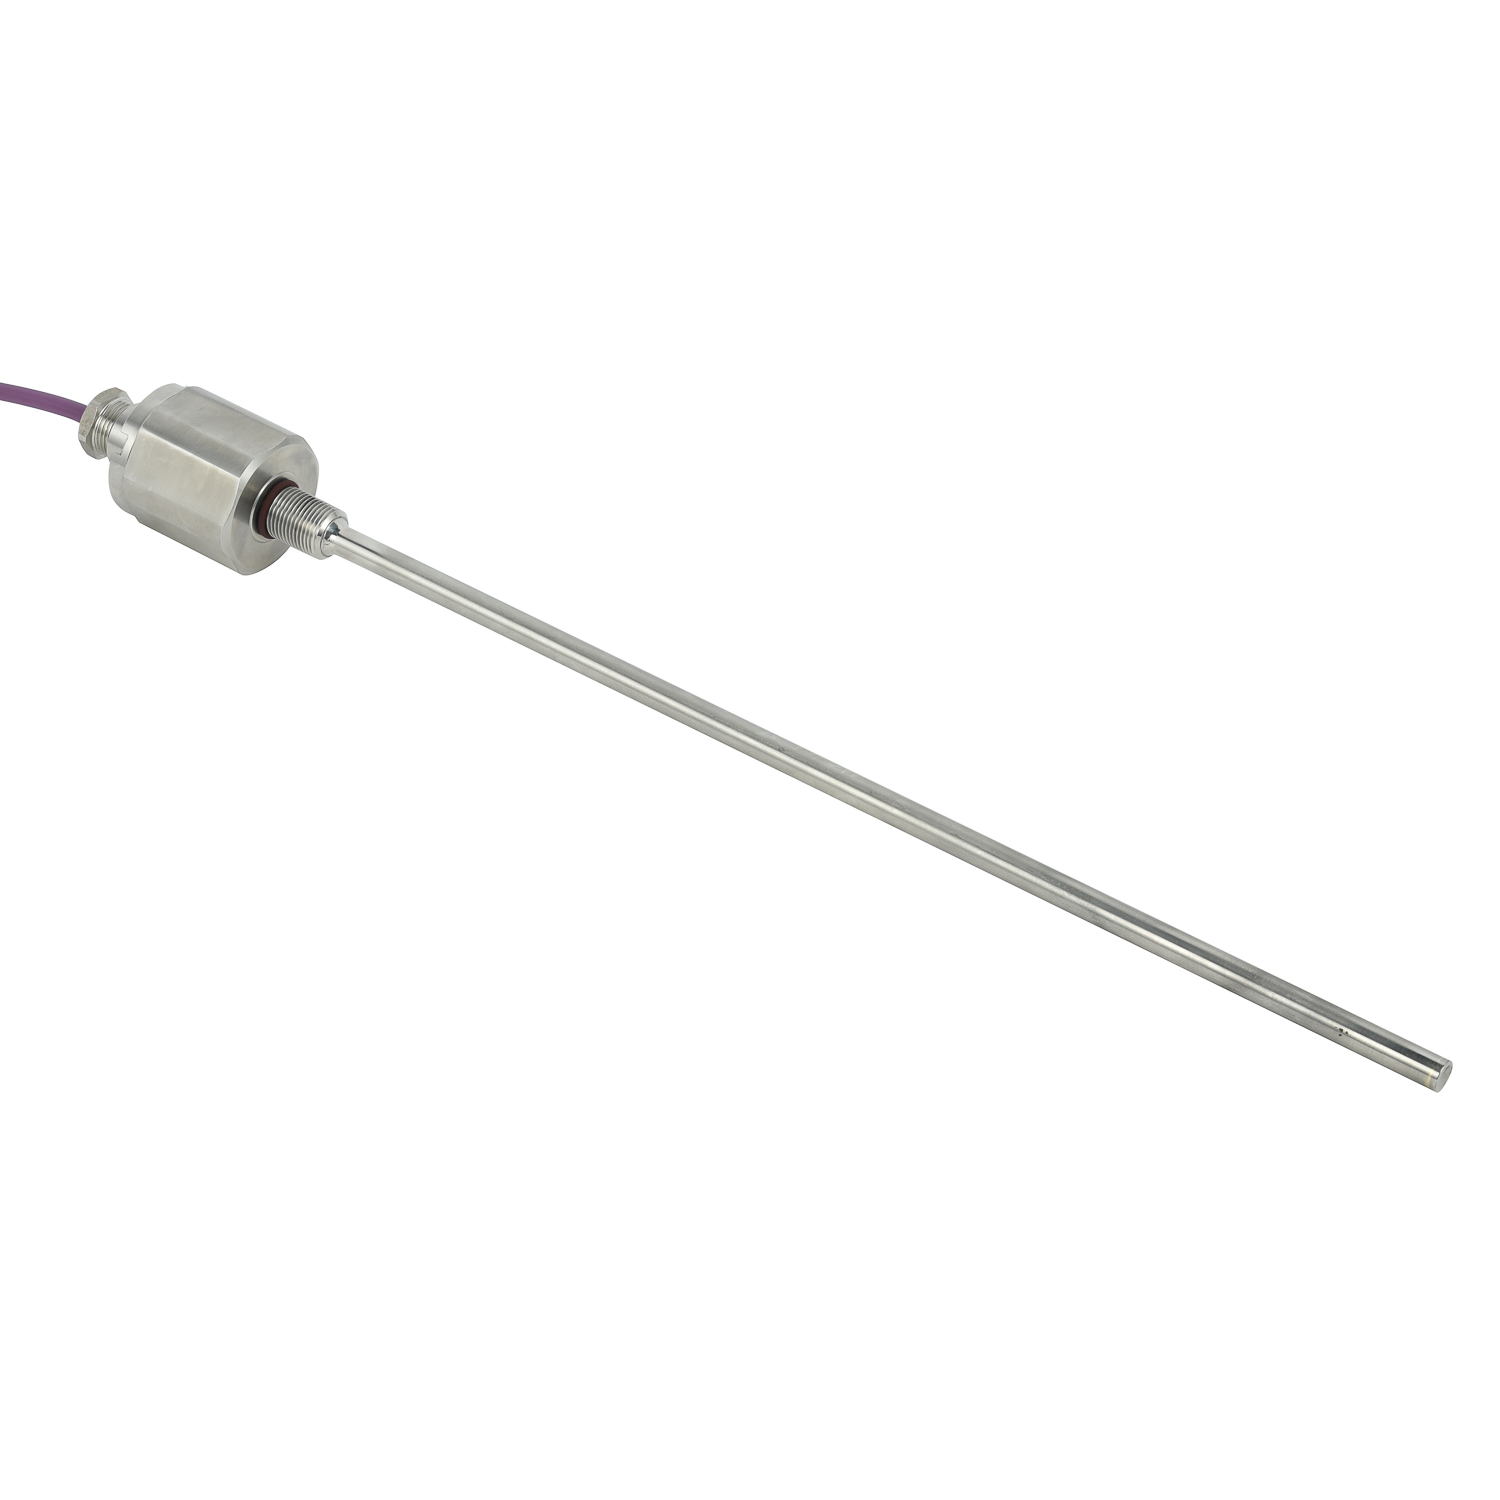
Installing a non-contact electromagnetic ultrasonic thickness probe requires stable positioning, correct lift-off, and clean mounting conditions. Begin by inspecting the pipe, plate, or vessel surface. Remove loose scale, rust, oil, water, and dust from the measuring area. Mark the measuring point clearly and keep the probe perpendicular to the surface. Select a fixed clamp, magnetic base, or non-metallic fixture according to the pipe material. Avoid strong magnetic mounts on austenitic stainless steel unless the manufacturer approves them. Set the probe lift-off to the specified range, commonly 1 to 5 mm, and lock the fixture to prevent vibration. Use a fixture designed for the probe size and operating temperature. Keep the active area fully covered by the test surface and avoid gaps under the probe. If the surface is curved, use a contoured adapter. Tighten clamps gently to avoid stress. Route the signal cable away from power lines, welding cables, and moving parts. Connect the probe, preamplifier, and instrument securely, then ground the system at one point to reduce electrical noise. Power on the instrument, enter material properties, and perform zero-point or reference calibration on a known thickness block. Mount the probe at the marked point, confirm a stable waveform, and adjust gain only when necessary. Check the first reading against a certified gauge or a second measurement. For long-term monitoring, add protective covers, inspect lift-off regularly, and record the installation date, position, and settings. Following these steps improves repeatability, protects the probe, and ensures reliable thickness data in high-temperature or harsh industrial applications.
 Chemical Pipeline Electromagne
 Port Corrosion-resistant Elect
 Power Plant Waterproof Electro
 Chemical Industry High-pressur