
Installation Method of Electromagnetic Ultrasonic Thickness Probe
Installation of an electromagnetic ultrasonic thickness probe begins with surface preparation. Clean the test area and remove loose rust, scale, dirt, grease, and thick coatings. A smooth, dry surface helps the probe maintain stable lift-off and signal strength. Do not use liquid couplant unless the manufacturer specifically requires it. Next, connect the probe cable to the instrument, matching the connector and tightening it gently. Power on the device and select the correct probe model and material velocity. Place the probe flat on the surface. Keep the coil parallel to the workpiece and press lightly; avoid tilting, sliding, or impacting the probe. For curved pipes or tanks, align the probe along the axial or circumferential direction as recommended. On rough or curved surfaces, use a slight rocking motion to find the strongest echo, then secure the probe at that angle. If continuous monitoring is needed, use a magnetic clamp, strap, or custom fixture to hold the probe in place. Adjust gain, gates, and zero calibration on a known reference block before measurement. Check signal stability and repeatability. During installation, keep cables away from high-voltage lines and moving equipment. After fixing the probe, mark the measurement point and record the setup. Regular inspection of probe wear, cable damage, and connector tightness ensures reliable thickness readings. Follow specified torque and lift-off limits. Following these steps improves accuracy and extends probe life.
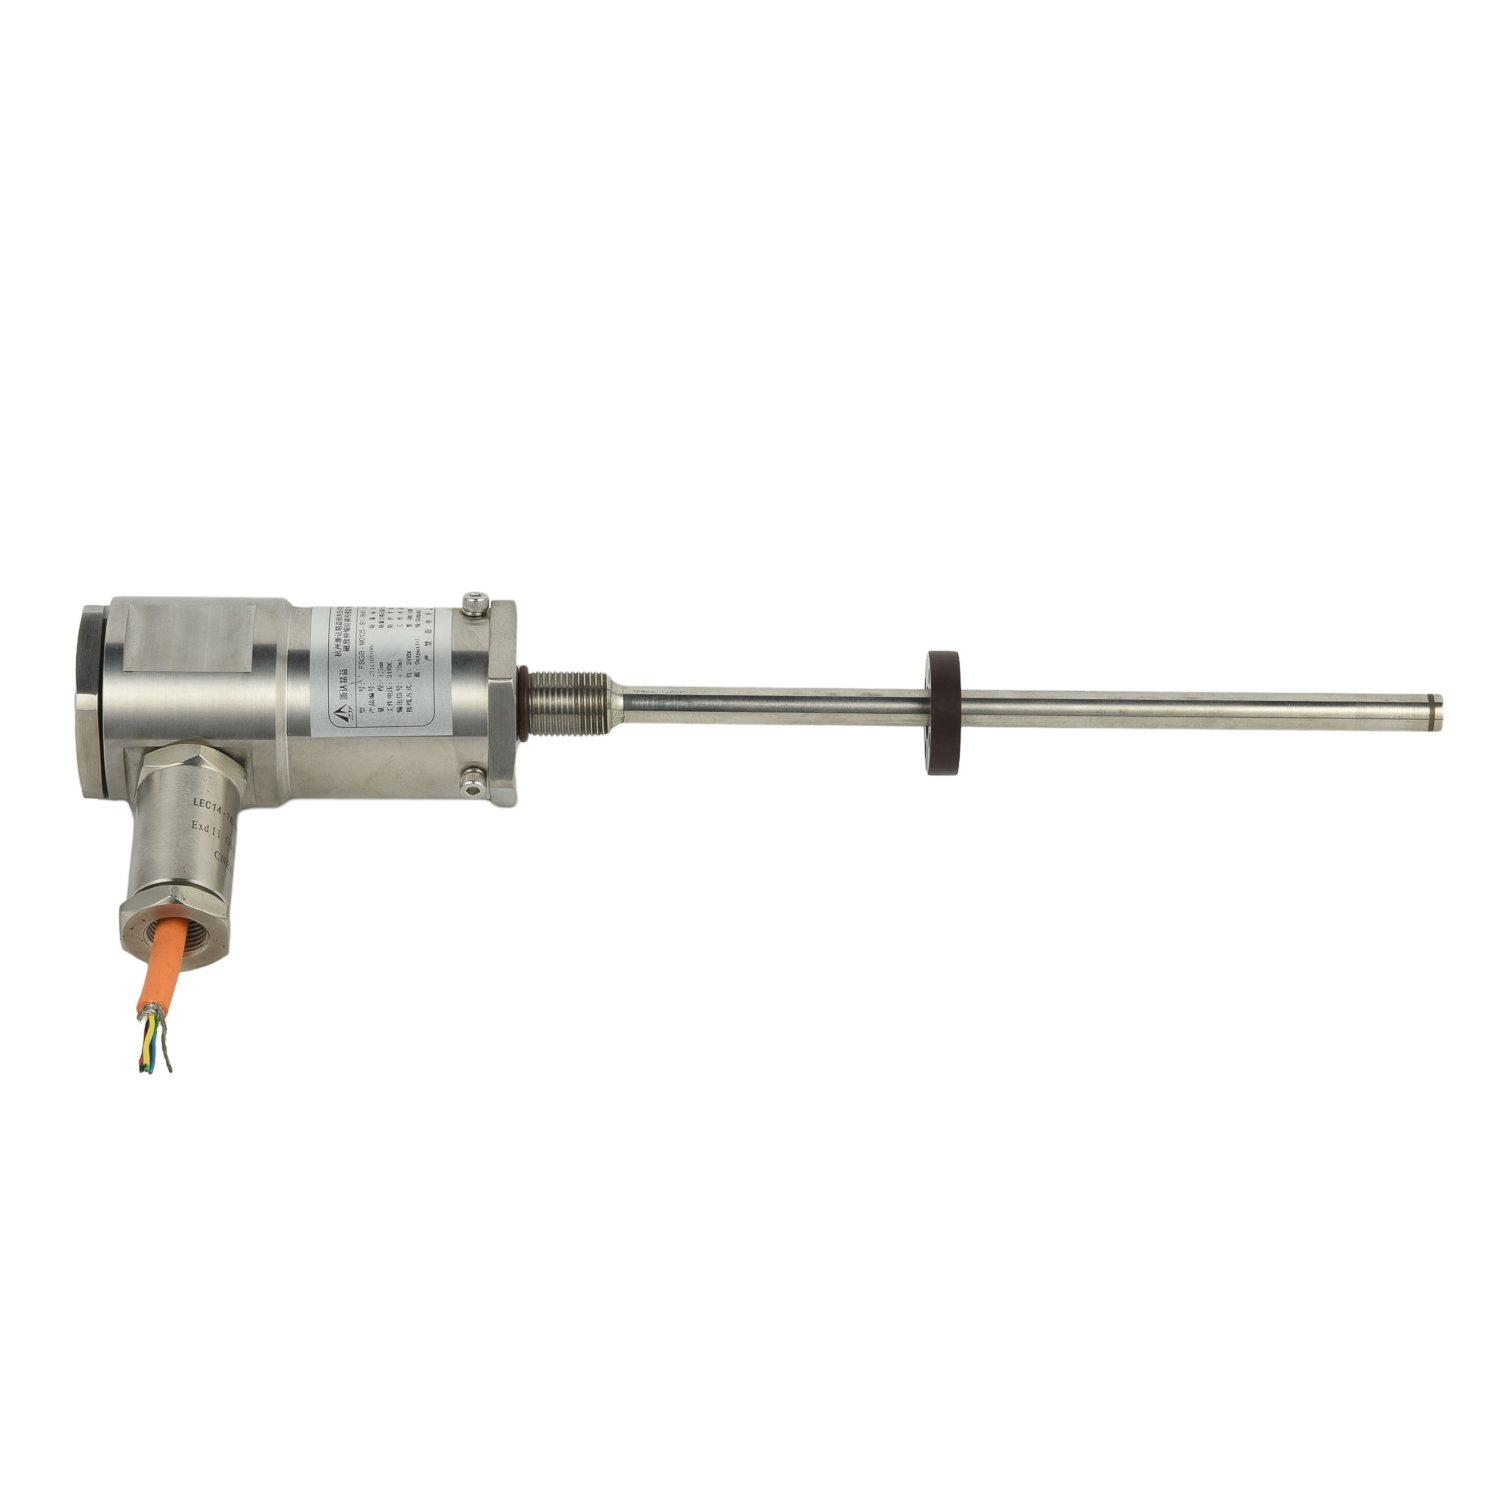
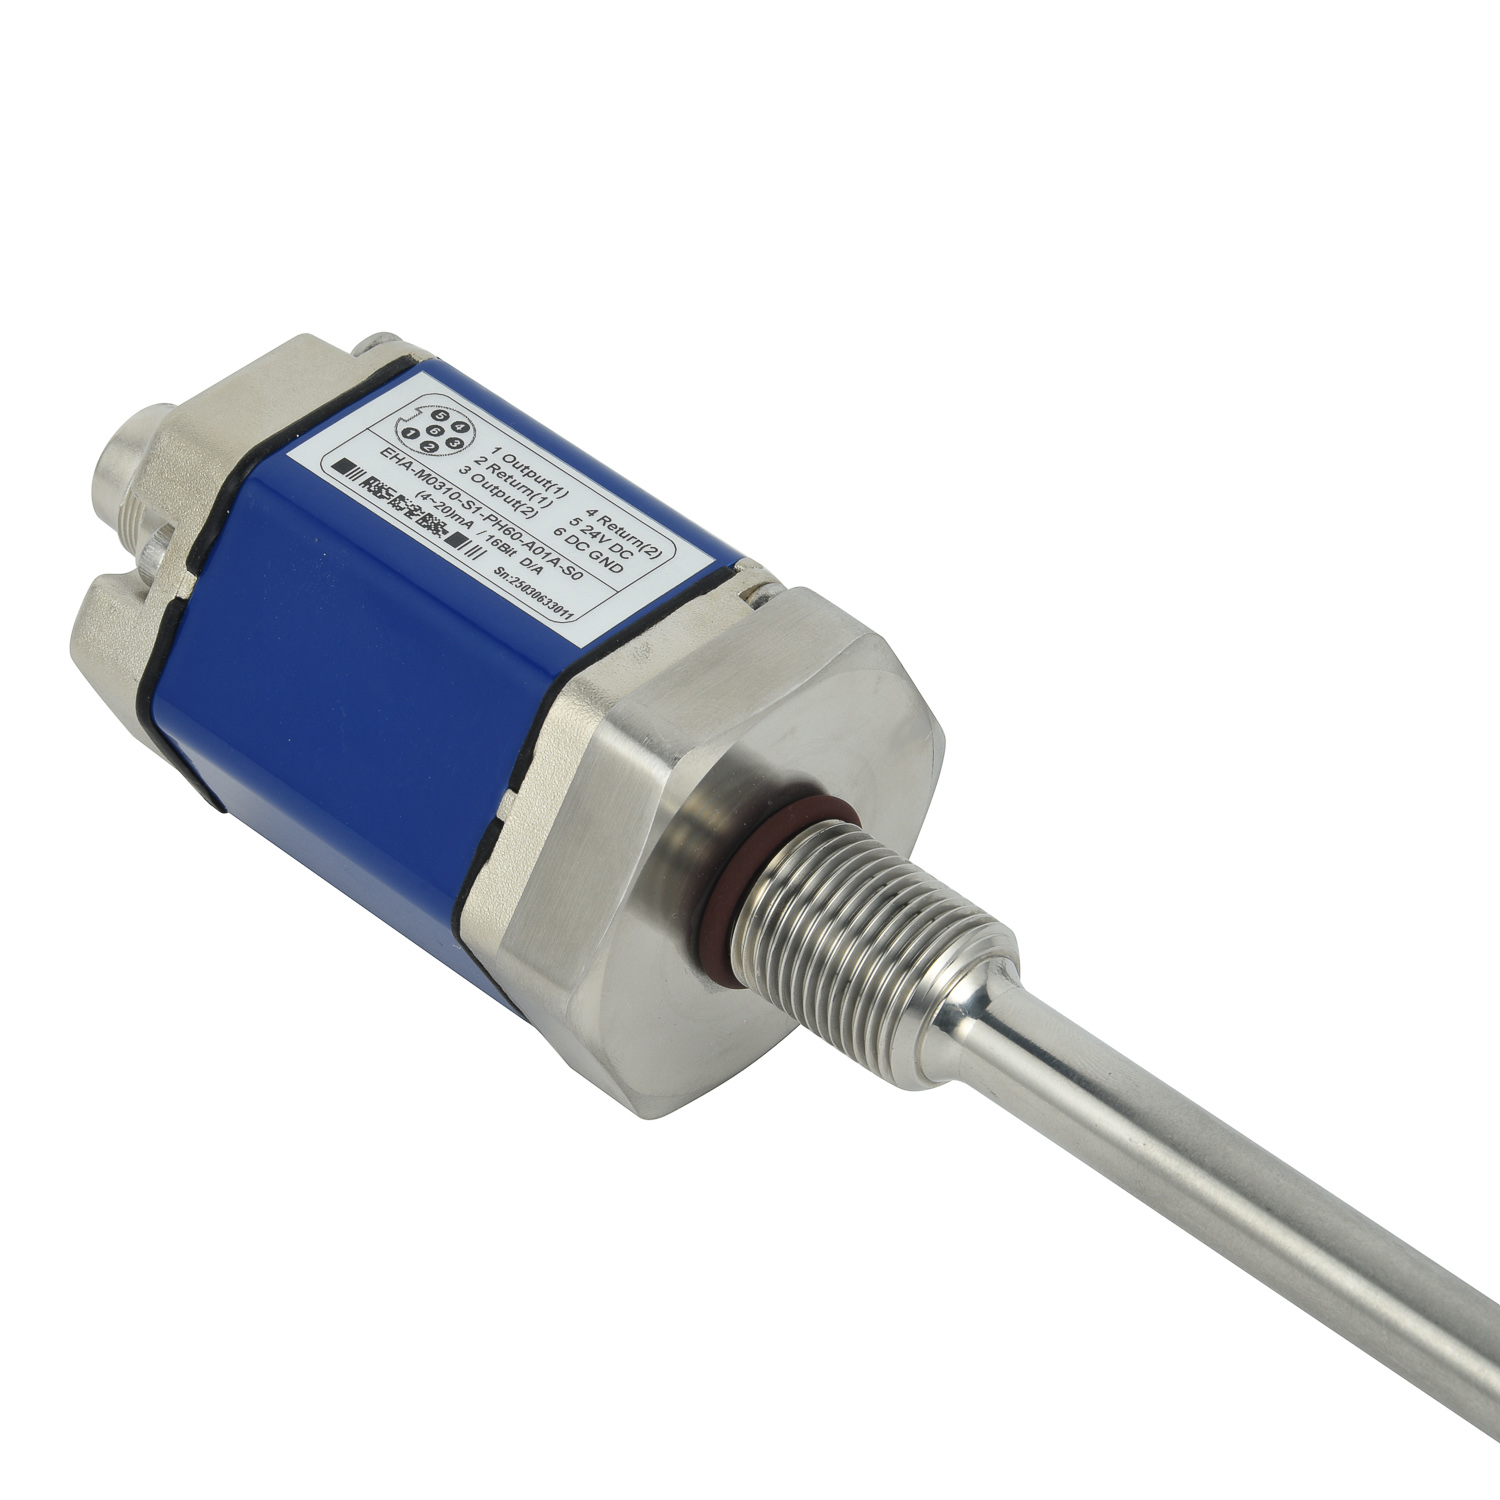 LVDT Displacement Sensor for R
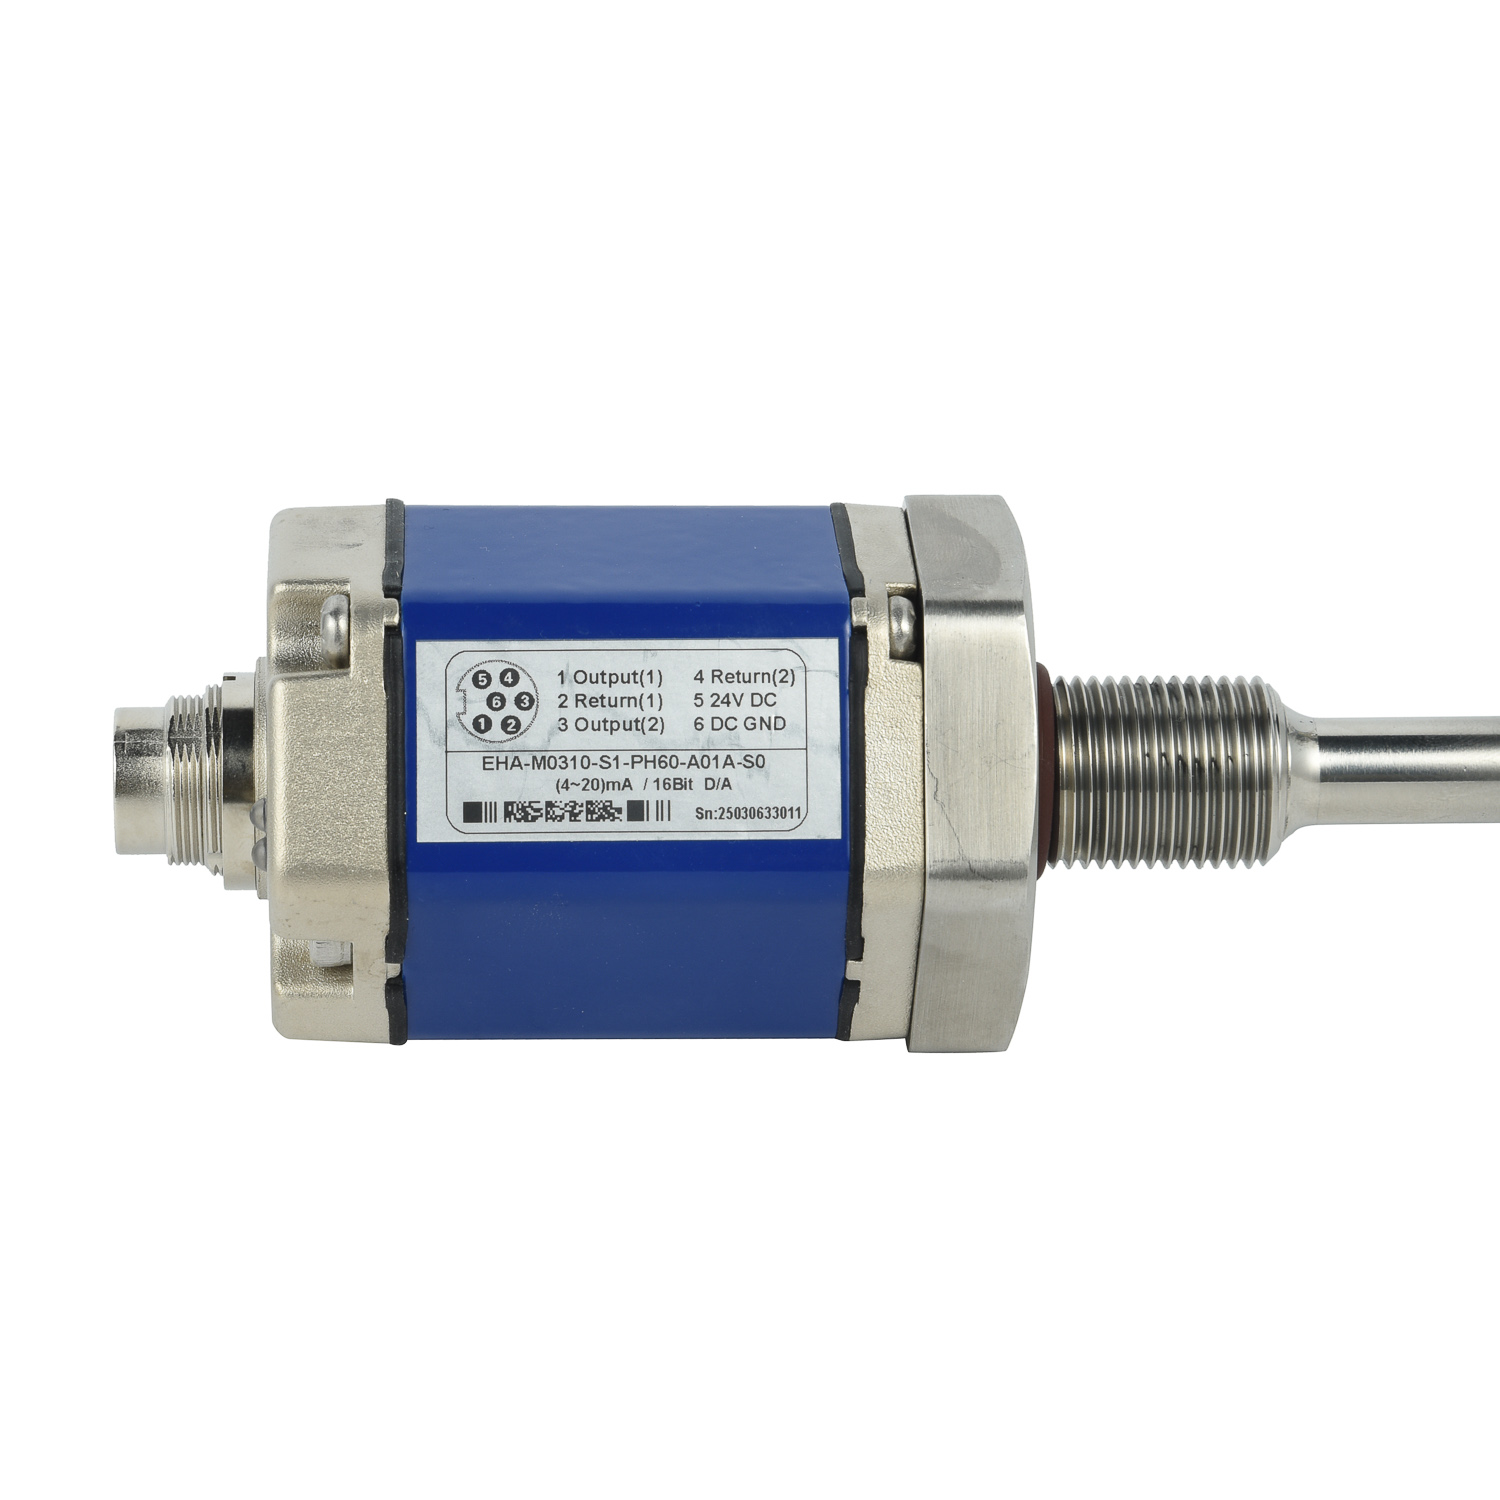 LVDT Displacement Sensor for S
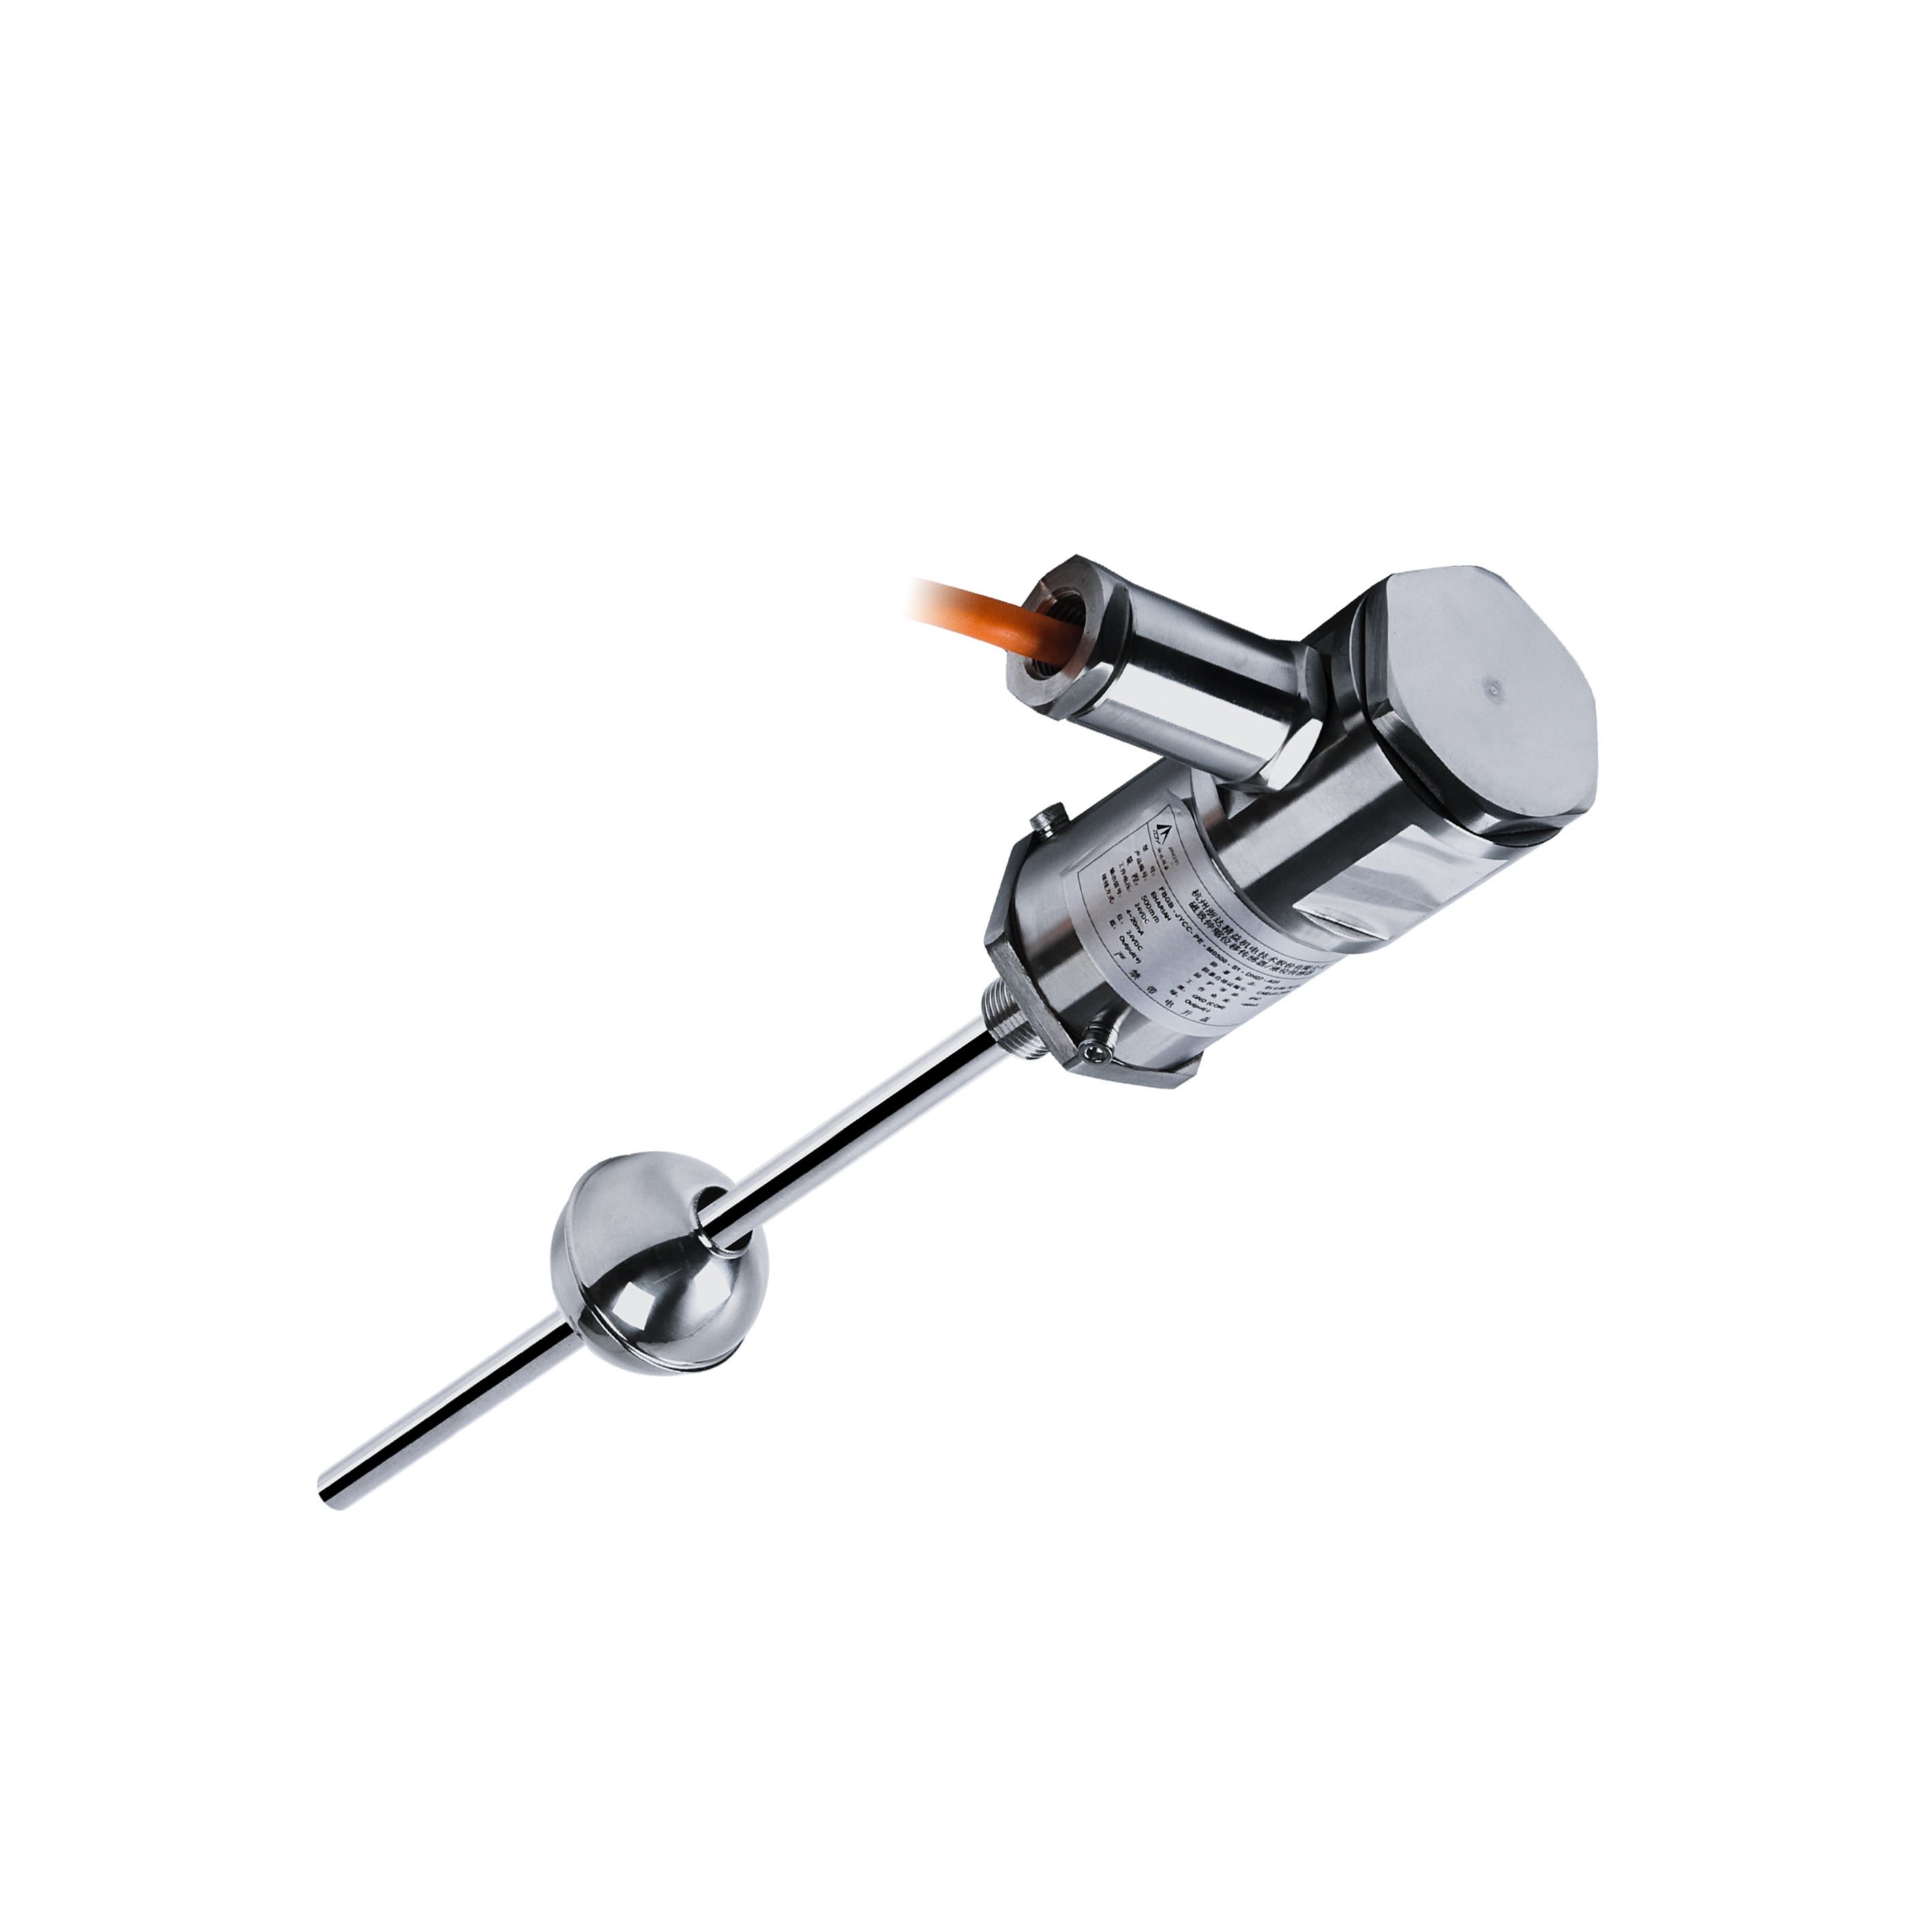 LVDT Displacement Sensor for M
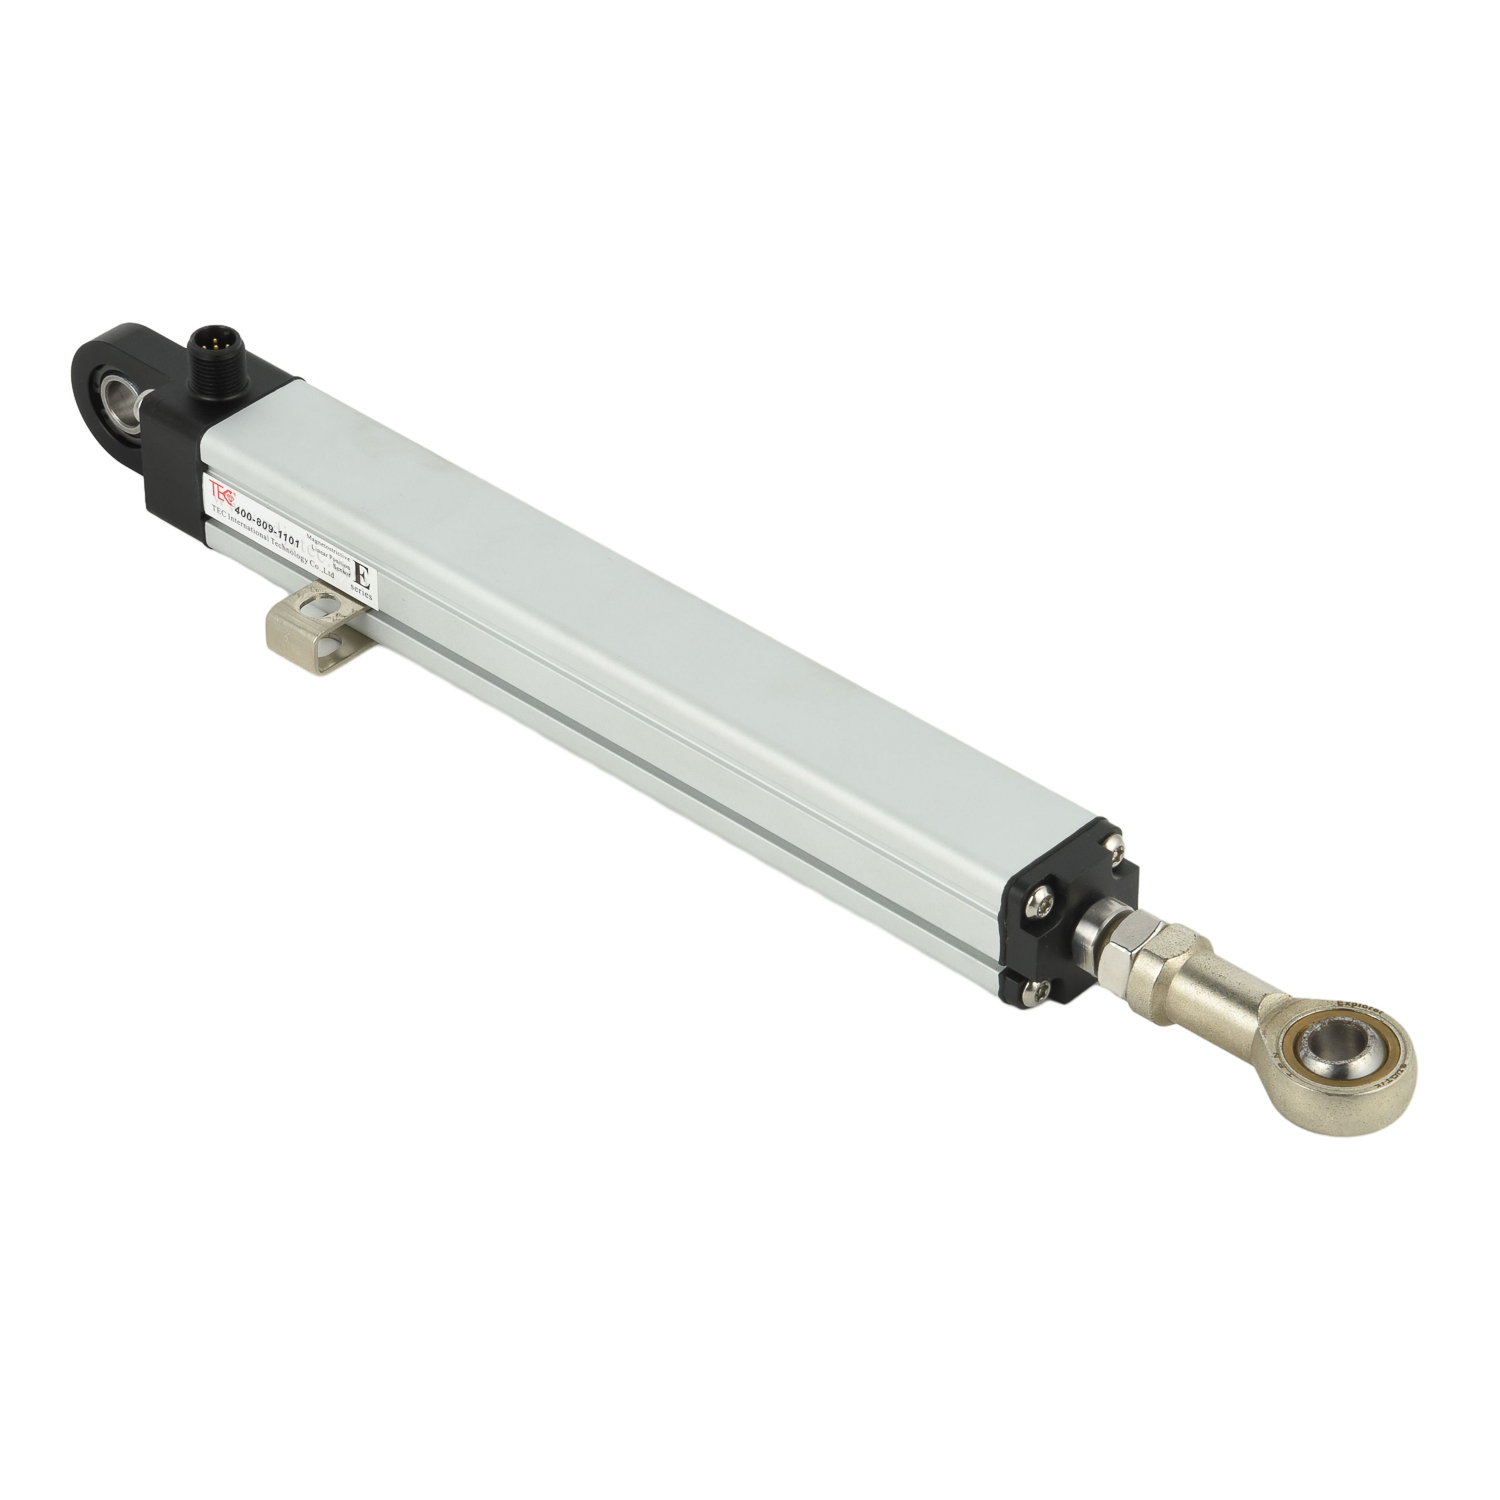 LVDT Displacement Sensor for B